Create and manage VueJs projects from a graphical interface
WARNING
This article targets Vue 2. Vue 3 has already been released and is the recommended way to develop Vue applications. Happy coding!
Frameworks like Angular, React, and Vue have become popular among frontend developers, making it common to find ourselves using the terminal to create projects, install npm modules, and handle plugins and configurations required by our application. The new vue CLI allows us to do these same things through vue ui, a graphical tool that runs in the browser, enabling us to manage, update, and analyze our project through panels and charts.
Next, I will show you how to install and run vue ui to generate an application with VueJs.
Prerequisites
To run and better understand the steps, it is necessary to have:
nodejsinstalled and therefore alsonpm.- General knowledge of VueJs syntax and how it works.
Installation
Execute the following command in the console to install the new vuejs CLI.
$ npm install -g @vue/cliOn Linux, it may be necessary to execute the command with sudo.
After the CLI installation is complete, we only need to navigate to the directory where we want to create the project, open the console and type:
$ vue uiThe command will display a message similar to this:
$ vue ui
Starting GUI...
Ready on http://localhost:8000
Open our preferred web browser and type http://localhost:8080. We should see a web application with a screen like this, which would display the list of created projects.
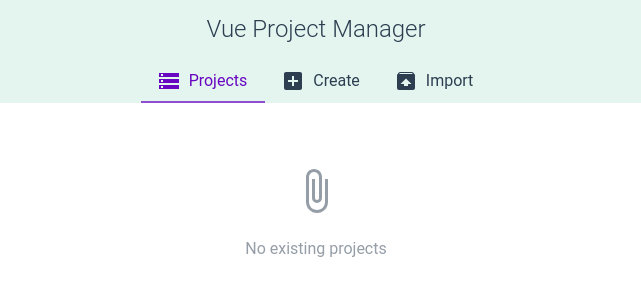
Creating an application
To create an application with VueJs, we proceed to the tab that says Create, look for the path where we will create the project and click on the green button at the bottom that says Create a new project here.
After choosing the place to create the application, we will see a screen like this.
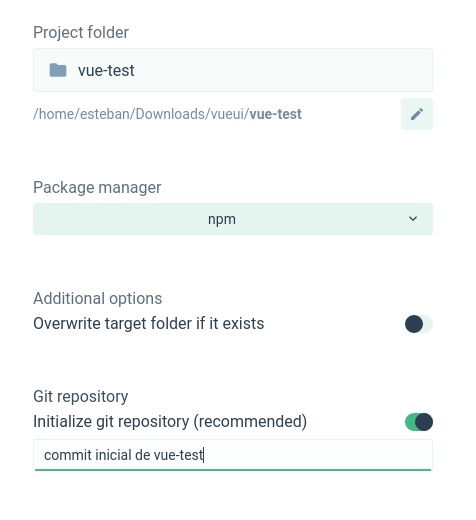
We proceed to name the project where it says Project folder. We select the package manager, among the options we have npm and yarn. We can select either of the two. In the following option, we select whether we want to initialize it as a project with git version control or not.
The following screen will be displayed.
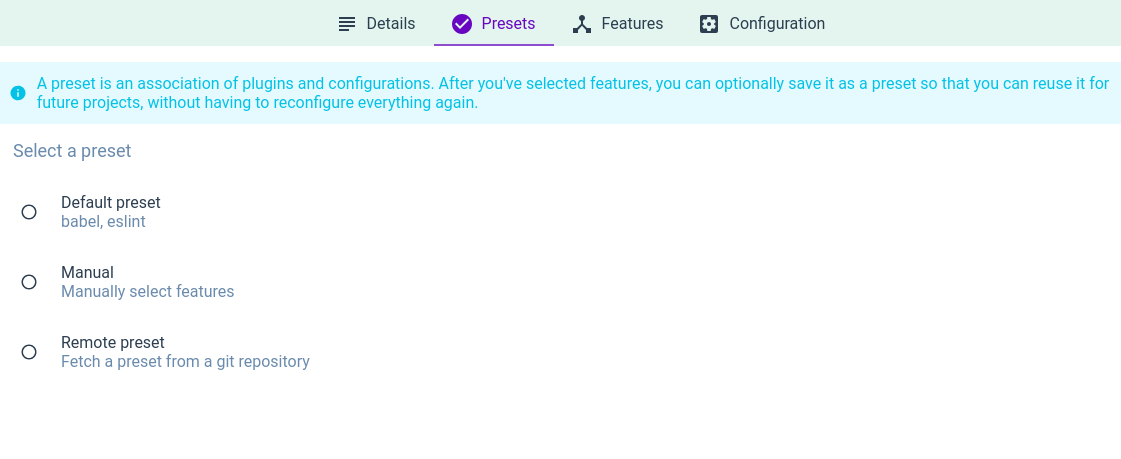
Here we select the preset that we want to use for the application. A preset is nothing more than a set of plugins and configurations with which the project will be created. If we select Default preset, the project will be created with babel that transpiles 'modern' JavaScript so that it works in older browsers. Besides that, it will configure eslint, which allows us to display syntax errors when programming with JavaScript. eslint is based on JavaScript Standard, of which I made a general summary here.
We proceed to select Default preset and then the green button at the bottom right that says Create Project. While the project is being created, we will see the following screen.
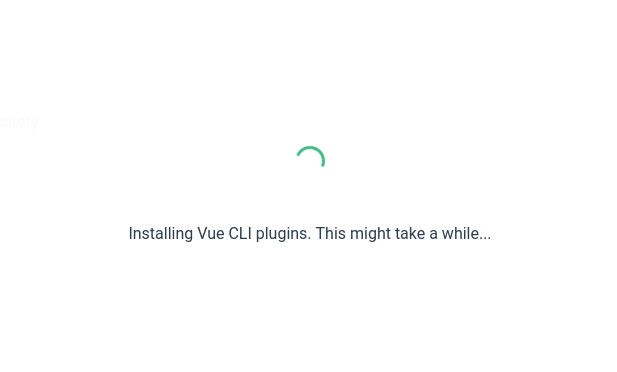
Then we will see the following
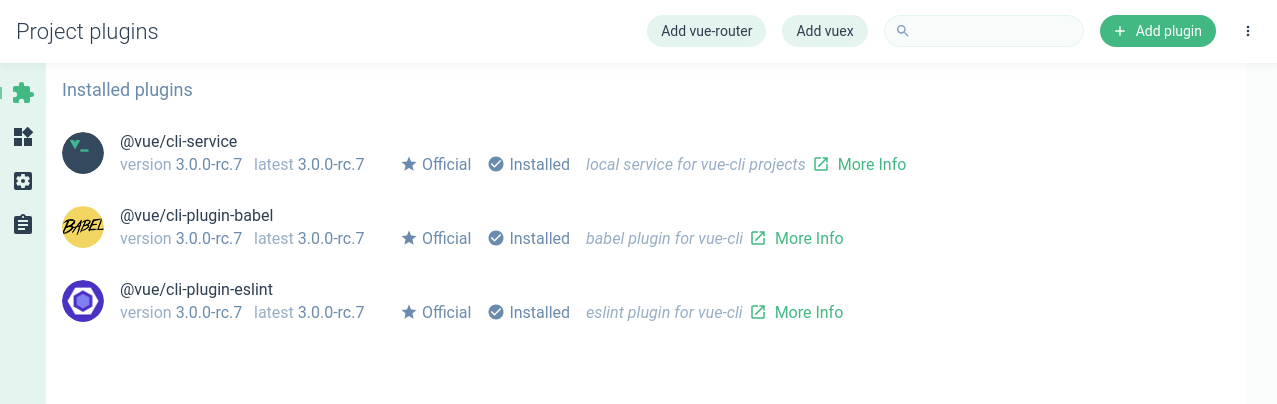
Plugins
The new vue-cli uses a plugin-based architecture, where plugins are packages that start with @vue/cli-plugin- and have the ability to add functionality to projects by modifying their configurations. Most of the project creation is done through plugins; in our case, the Default preset uses plugins like @vue/cli-service, @vue/cli-plugin-babel, and @vue/cli-plugin-eslint.
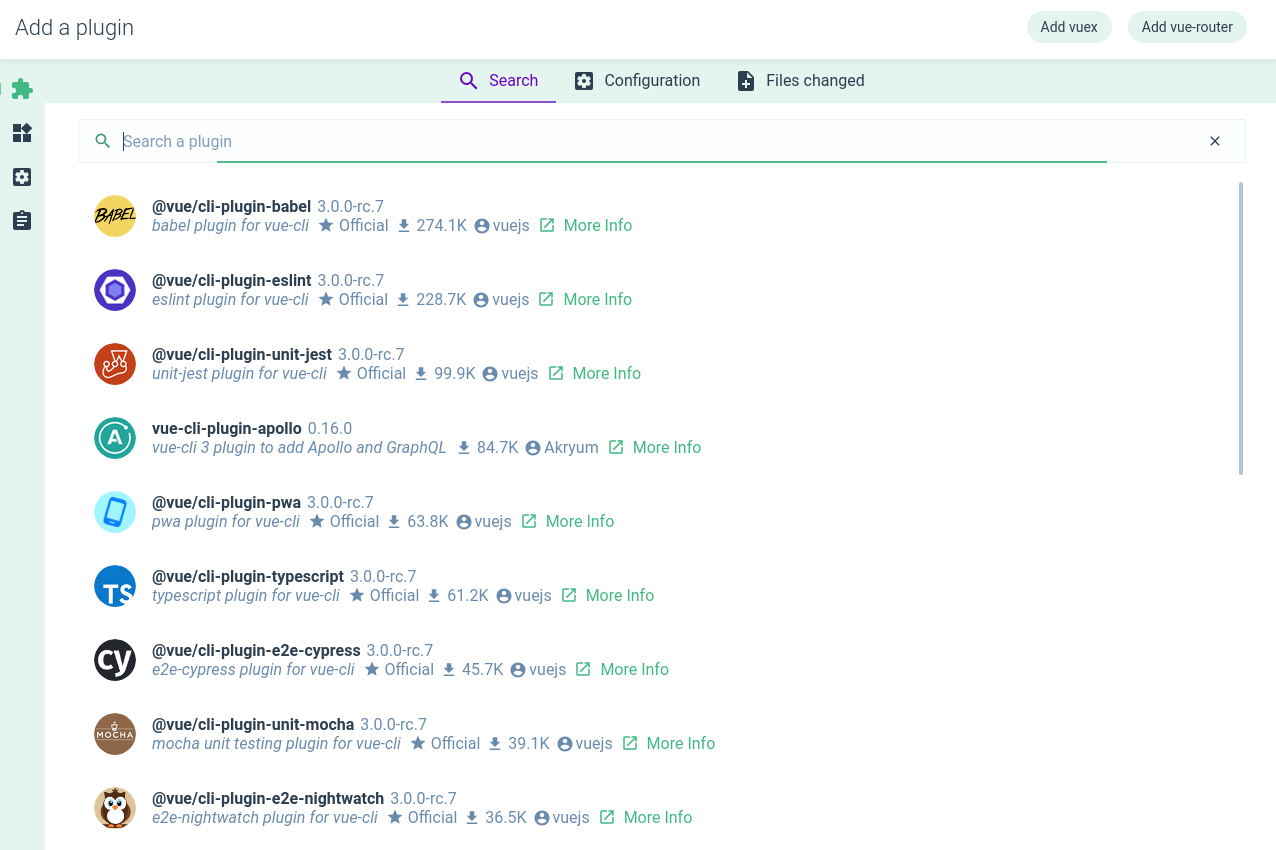
Through vue-ui, we can add functionality to the application such as:
- Internationalization (support for multiple languages).
- Support for TypeScript.
- Support for PWA (Progressive Web Application).
- In addition to design frameworks like Bootstrap, Vuetify, Bulma, ElementUI, among others.
To do this, just click on the Add plugin button located at the top right and select a plugin from the list.
Dependencies
Dependencies are modules that are used by developers or by other modules. They are stored in the node_modules folder and are managed by the dependencies and devDependencies properties of the project's package.json. Any project initialized with npm has a package.json.
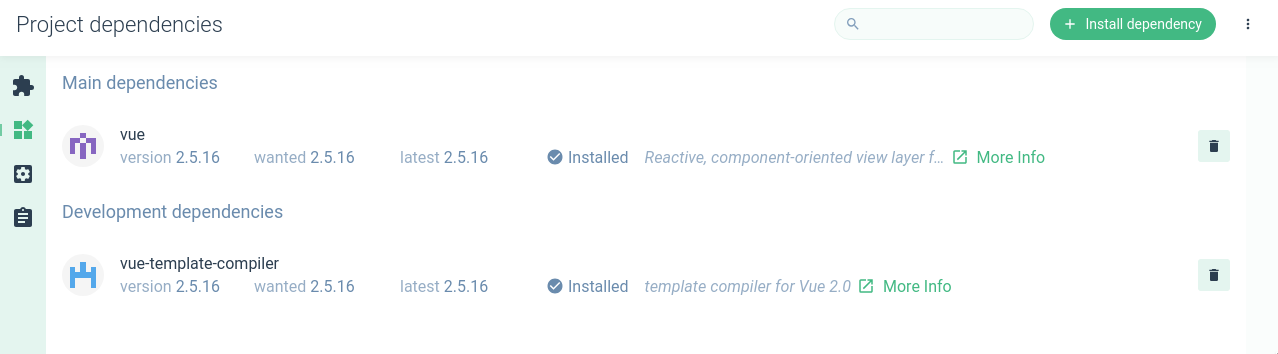
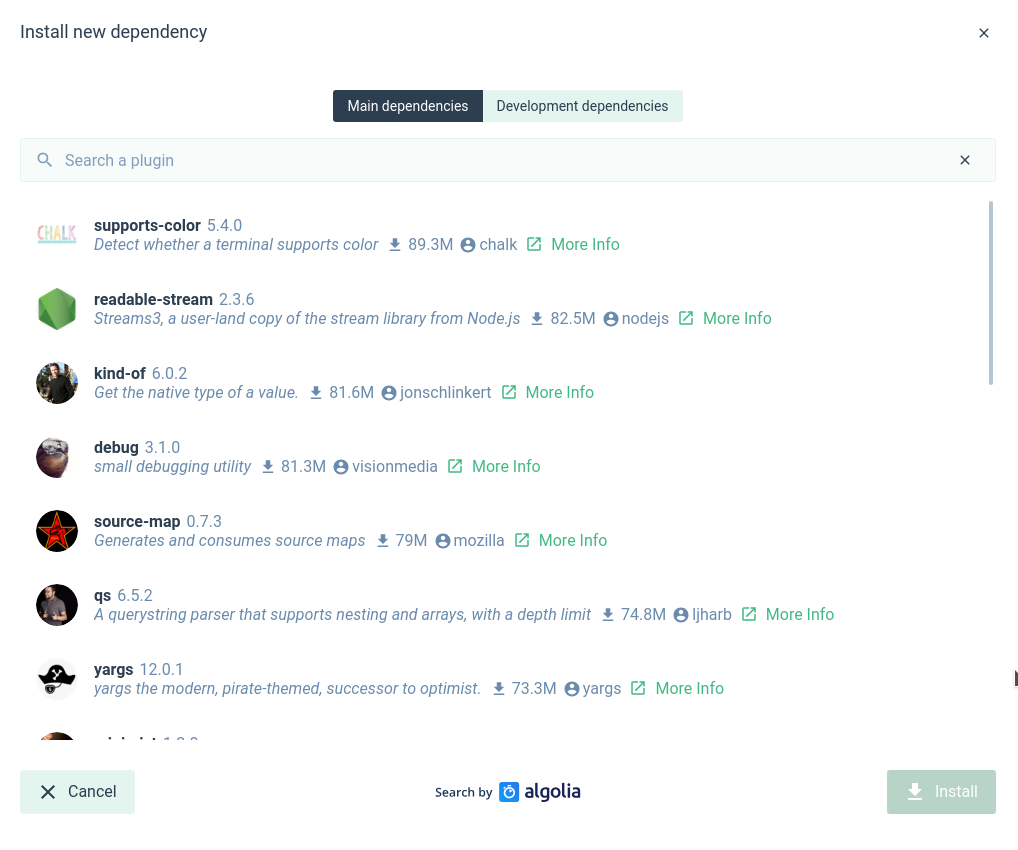
vue-ui allows you to search for, add, and remove dependencies from a graphical environment. We navigate to the dependencies panel, which is the next option to the plugins panel. We will see the main dependencies installed by default. Just as with plugins, we can click on the green button located at the top right to add new dependencies.
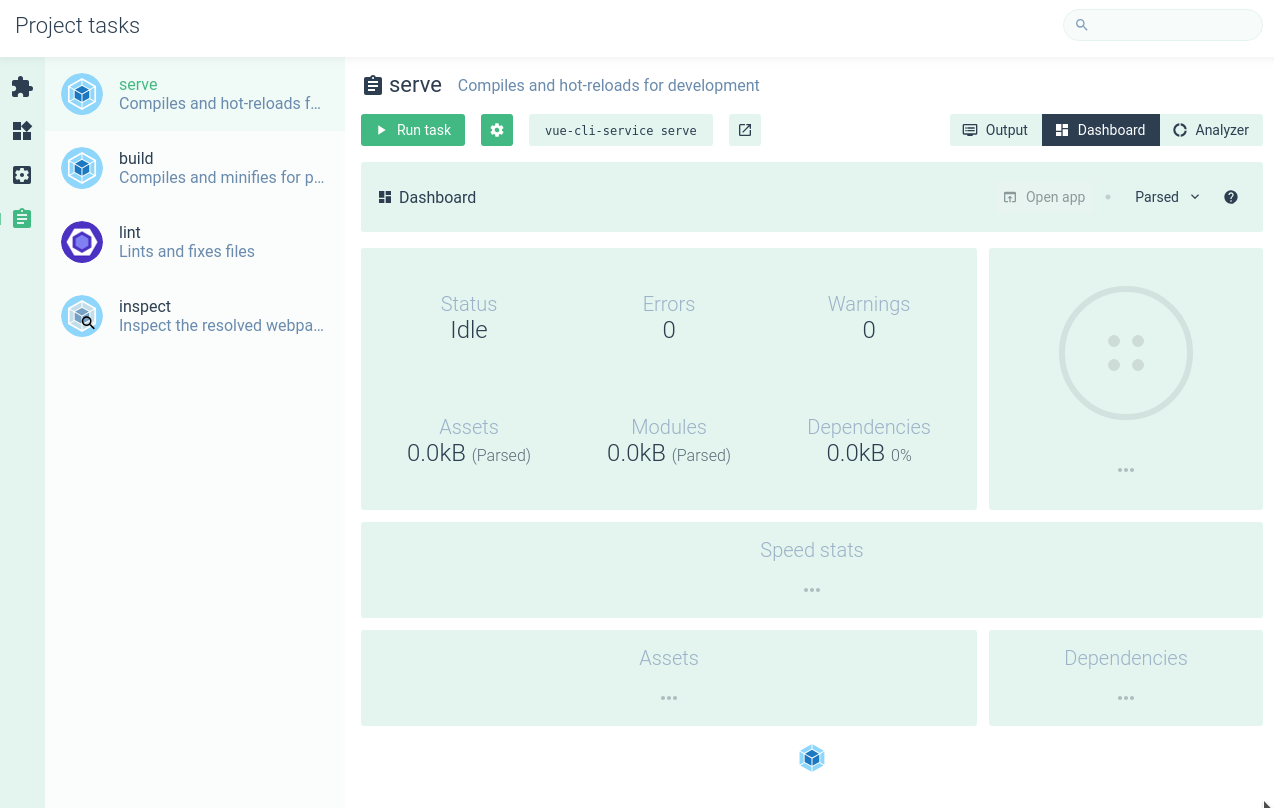
Execution
Normally, to run a vue-cli generated project in development mode, we open a command console inside the project folder and type npm run serve. However, vue ui has a screen called tasks, which is the last option on the left panel. To run the project, we click on serve and then on run task. This builds the project and runs it,
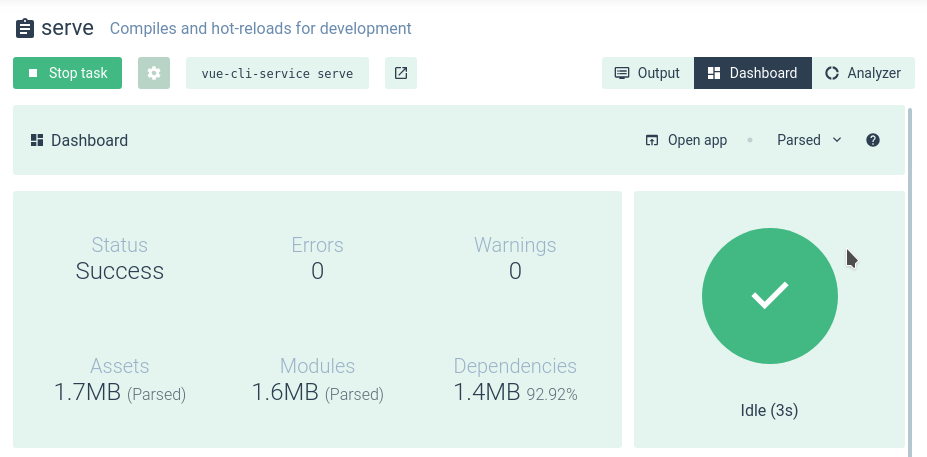
When the project is ready, we proceed to click on the button that says open app to open the application in a new tab.
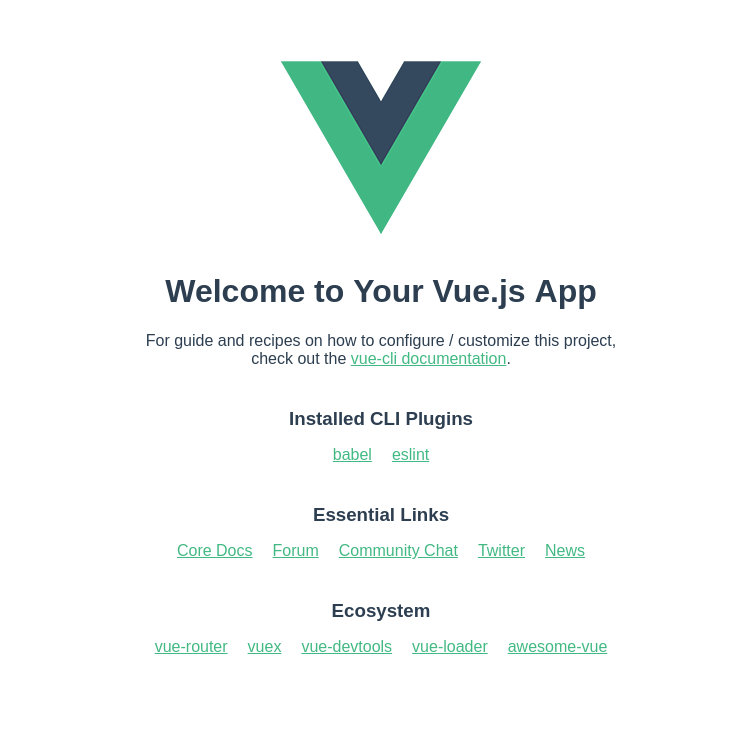
The application page will look like this.
Miscellaneous
Importing existing projects
If we already have projects created with vue init, we can also import them and manage them from the vue cli interface. To do this, on the main screen of vue ui, we go to the Import tab and select the project we want to import.

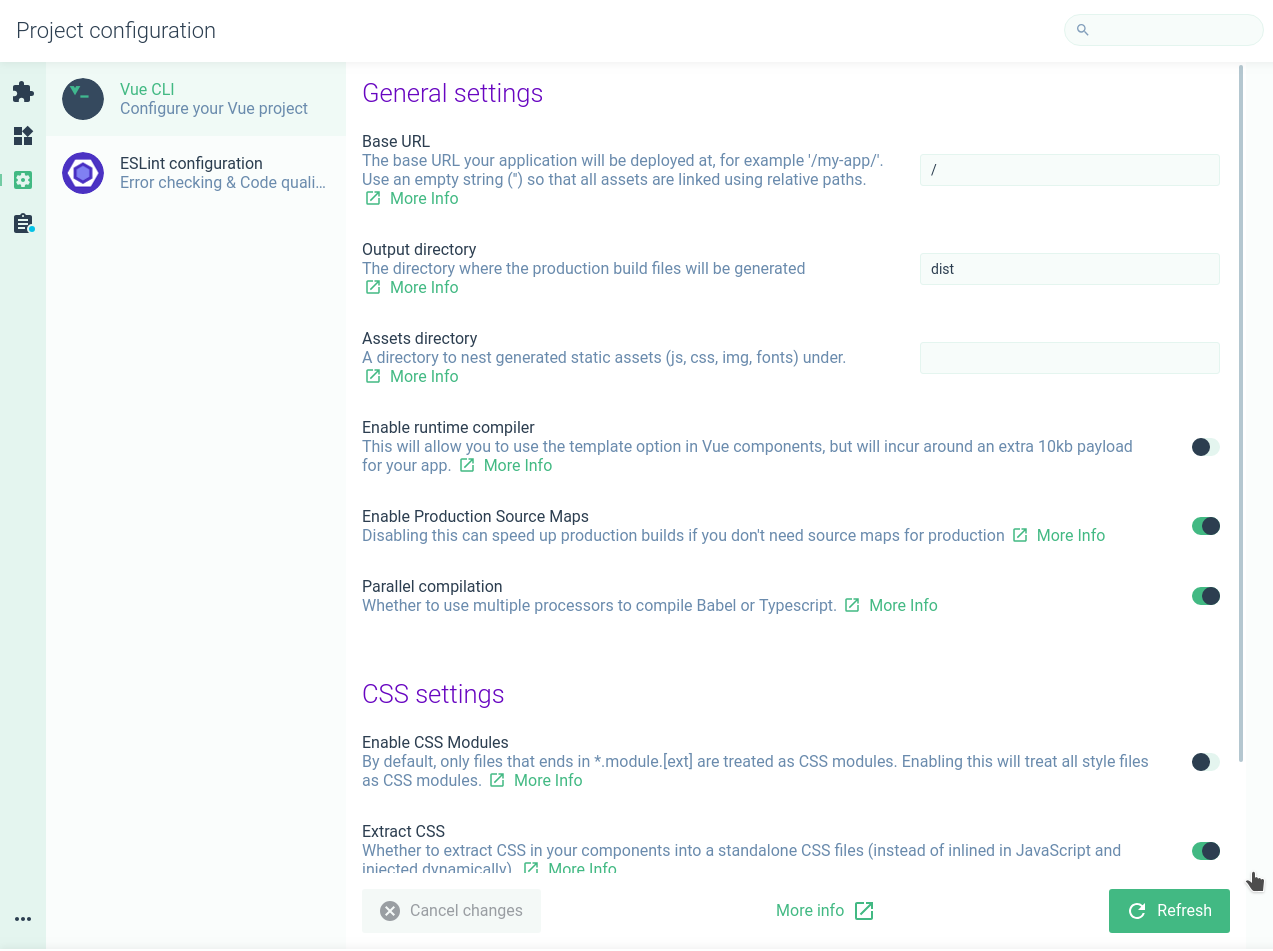
Configuration tab
In the right panel, there is a tab called Configuration, which gives us more advanced options to configure our project. Among these options are the folder where the project will be built, the syntax rules we want to be required in our project, among other options. The default configurations work for most projects.
Dark theme
At the bottom of the page, we can change the theme to dark mode. To do this, we only have to click on the droplet icon.

Conclusions
The new vue-cli provides us, developers, with tools that make it easier to create and subsequently manage our projects by allowing us to import projects already created with vue and giving us the ease of managing their dependencies, settings, and execution from a simple, friendly interface with a lot of information that helps in decision-making. Once the project is created, we can proceed to program our application in our preferred text editor. As we save our changes, the CLI will automatically refresh our application and show errors if there are any.
I hope this guide allows you to become familiar with the new vue ui and helps you simplify the process of managing your projects.
Best regards!