How to Deploy a Next.js App on Laravel Forge: Step-by-Step Guide
Prerequisites
- Familiarity with Laravel Forge.
- A server up and running in Laravel Forge.
- A repository on Github (public or private).
- A Github account linked to Laravel Forge.
For this kind of Forge deployment, I usually useVultr.
Make the repository you'd like to push to Forge available in Github
The repository must be in Github, since it is the way Laravel Forge imports the code. In this example, we'll use chatbot-ui as the example repository to use. In my case, I already forked the repository, so it is available in my account.
Setting the Nginx Template
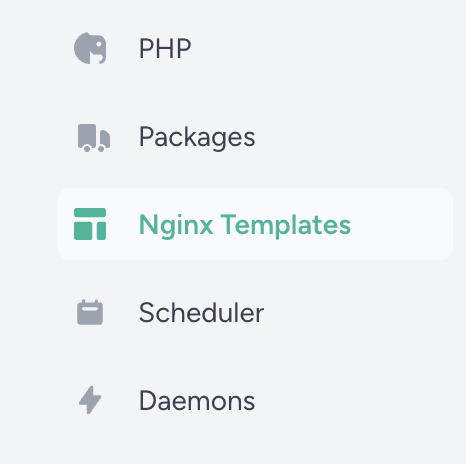
In Forge, we'll enter our server, and choose the Nginx Templates entry.
In the Name field, we can use any name, but I'll call it NextJs App.
In the Content code box, we'll paste the following template:
# FORGE CONFIG (DO NOT REMOVE!)
include forge-conf/{{ SITE }}/before/*;

server {
    listen {{ PORT }};
    listen {{ PORT_V6 }};
    server_name {{ DOMAINS }};
    server_tokens off;
    root {{ PATH }};

    # FORGE SSL (DO NOT REMOVE!)
    # ssl_certificate;
    # ssl_certificate_key;

    add_header X-Frame-Options "SAMEORIGIN";
    add_header X-XSS-Protection "1; mode=block";
    add_header X-Content-Type-Options "nosniff";

    index index.html index.htm;

    charset utf-8;

    # FORGE CONFIG (DO NOT REMOVE!)
    include forge-conf/{{ SITE }}/server/*;

    location / {
        proxy_pass http://127.0.0.1:3000;
        proxy_set_header Connection "";
        chunked_transfer_encoding off;
        proxy_buffering off;
        proxy_cache off;
        proxy_set_header Host $host;
        proxy_set_header X-Real-IP $remote_addr;
        proxy_set_header X-Forwarded-For $proxy_add_x_forwarded_for;
        proxy_set_header X-Forwarded-Host $host;
        proxy_set_header X-Forwarded-Proto $scheme;
        proxy_set_header X-Forwarded-Port $server_port;
    }

    location = /favicon.ico { access_log off; log_not_found off; }
    location = /robots.txt  { access_log off; log_not_found off; }

    access_log off;
    error_log  /var/log/nginx/{{ SITE }}-error.log error;

    location ~ /\.(?!well-known).* {
        deny all;
    }
}

# FORGE CONFIG (DO NOT REMOVE!)
include forge-conf/{{ SITE }}/after/*;
And then, click on the Create button.
WARNING
Remember to update the proxy_pass port number if your application runs in a port different than 3000.
Setting up the NextJs Application
In the Sites entry, we'll click on New Site, and then click the Advanced button next to the Add Site button.
- In the
Root Domainwe need to set up the domain that the application will use. In this example, I use,chat.nexlab.cloud. - In
Project Type, selectStatic HTML / Nuxt.js / Next.js. - The
Aliasesfield is optional, and should be filled if you have other URLs you'd like to use to access your application. Web Directotycan be left at/.- Since the project I am using does not use a local database, I'll leave
PHP Versionin the default value. - In the
Nginx Template, choose the template you created before, in my case, the one namedNextJs App.
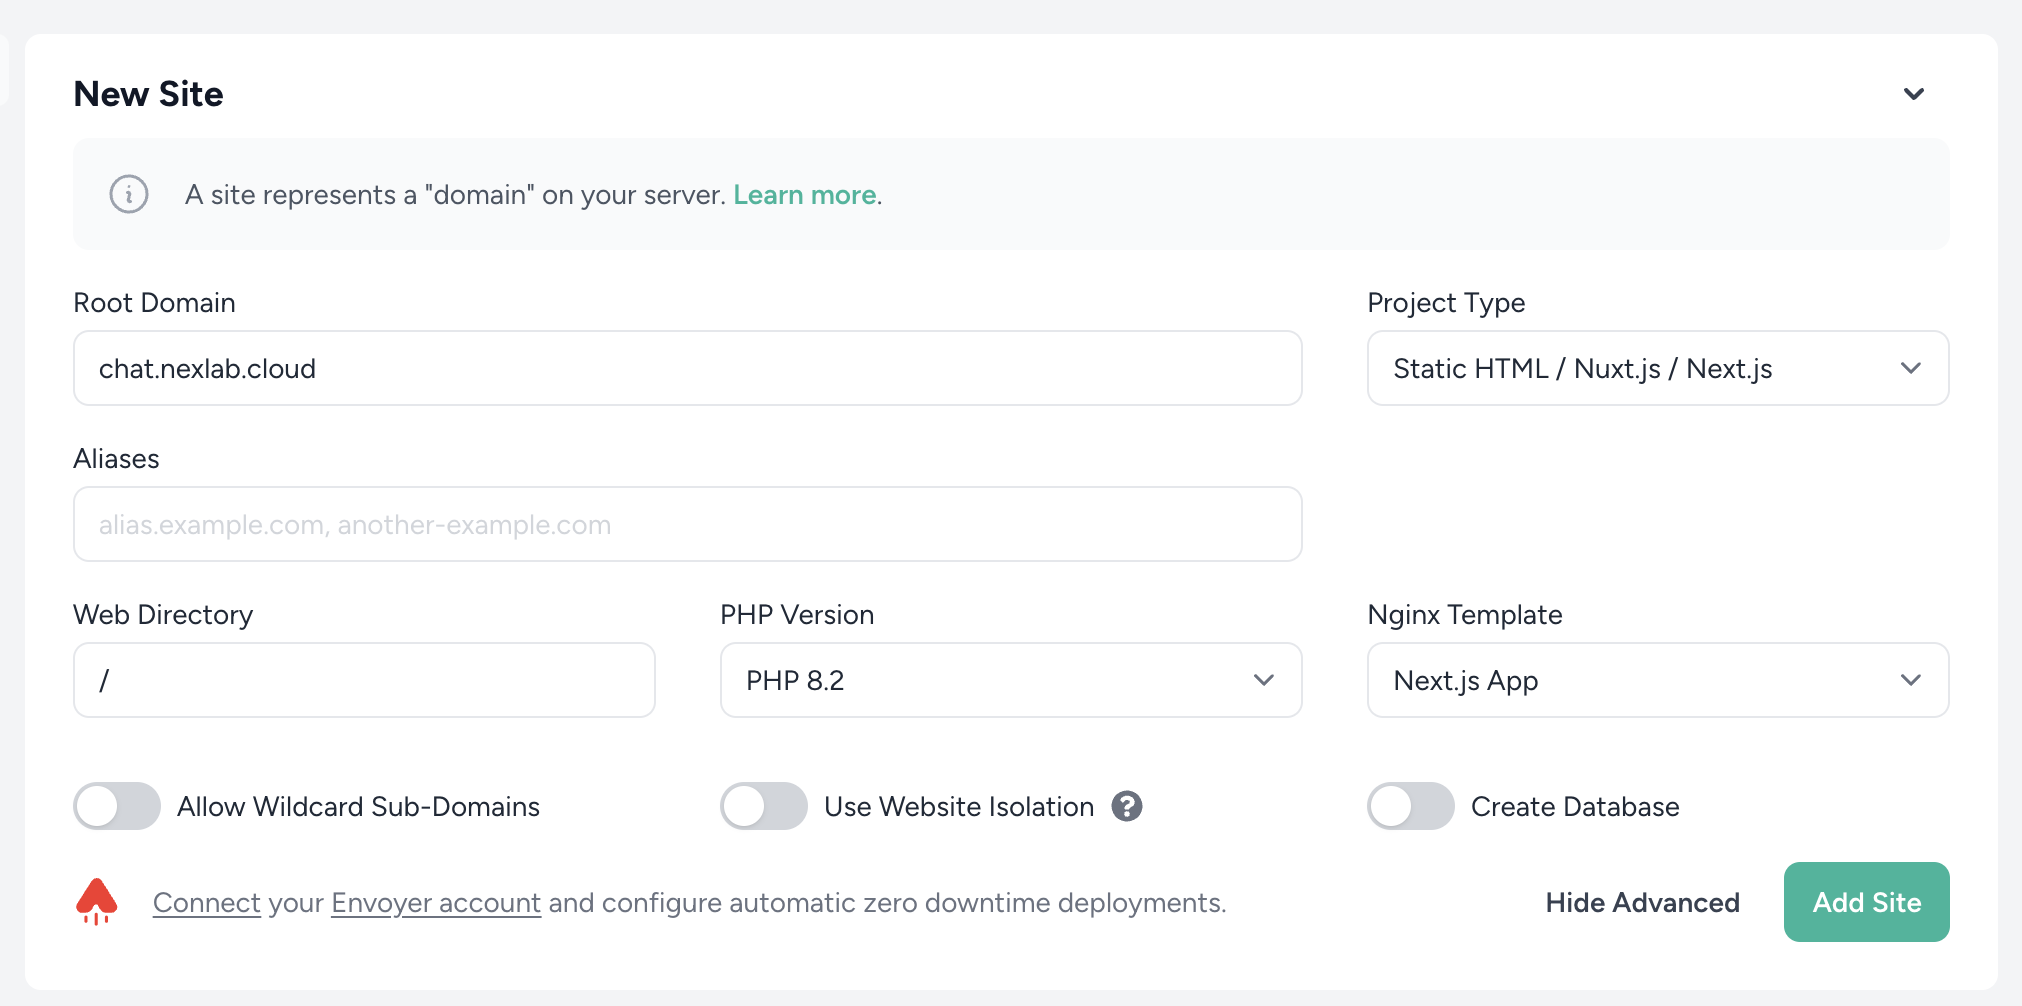
The rest of the options can be left in their default values. Click the Add Site button.
After a brief message saying "Your site is being installed...", you'll get the following screen:
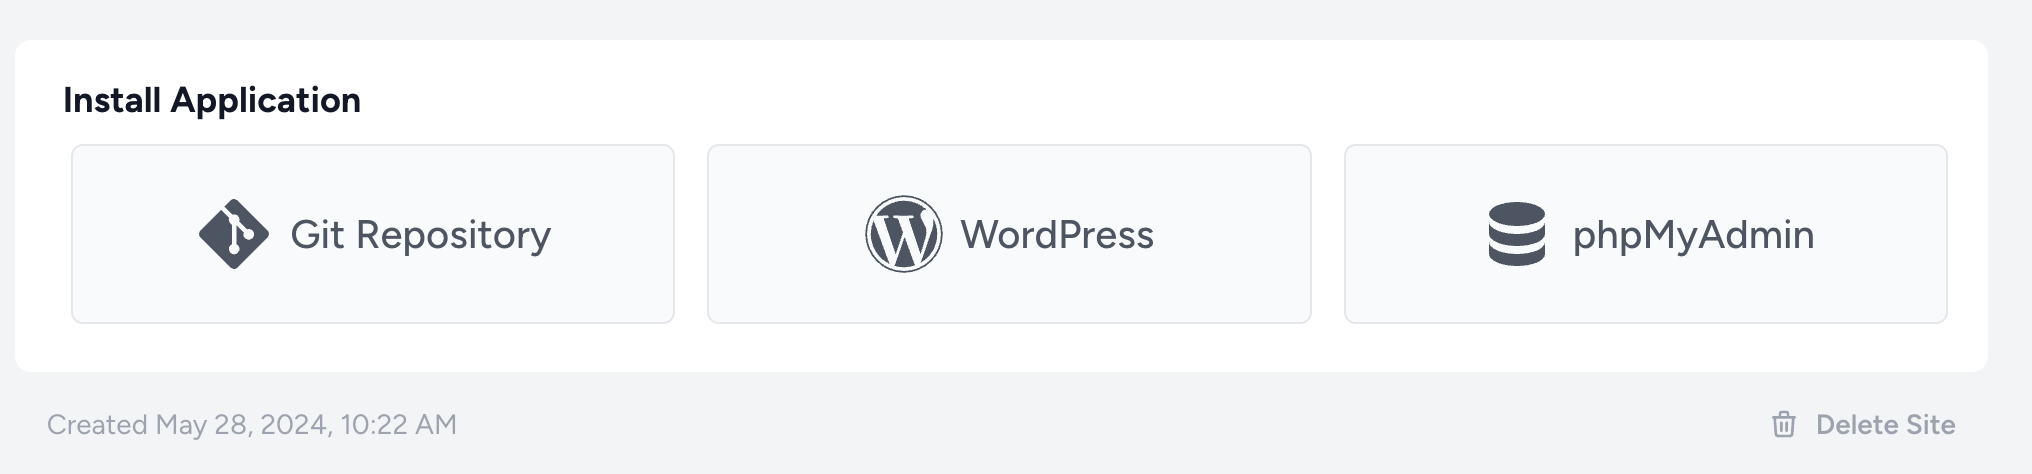
Here, we'll select Git Repository. In the Repository field we'll write the user + repository name of the repository we'll use. For this example is quezadaesteban/chatbot-ui. Laravel Forge will automatically select the branch, but make sure the selected branch is the one you'd like to use.
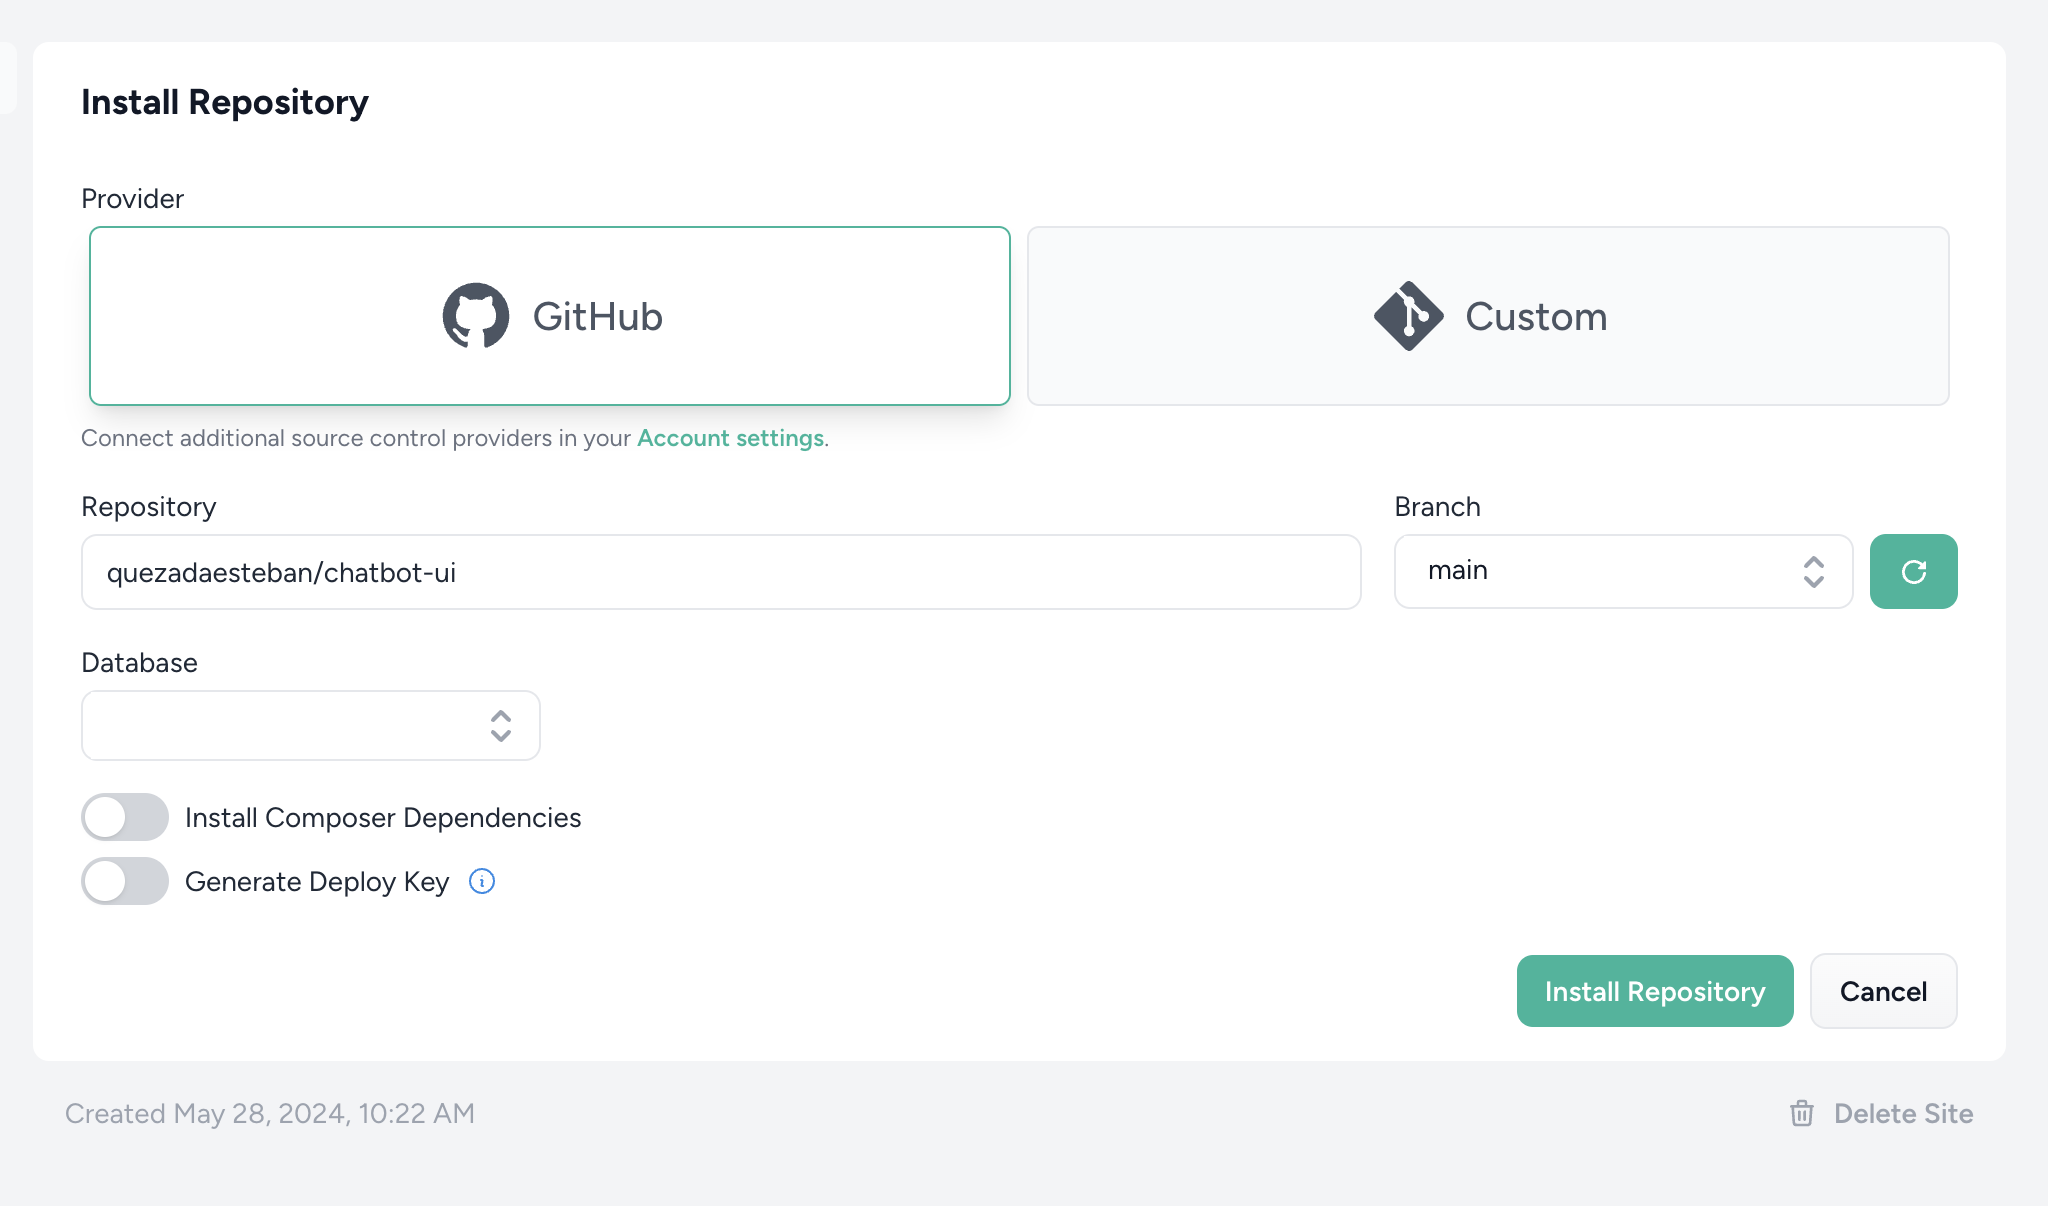
Assuming you already have an SSH key in your Github account, you don't need to enable the Generate Deploy Key toggle.
Click Install Repository.
Configuring the Application
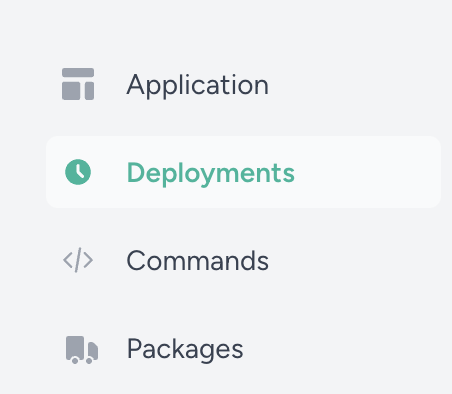
Inside our new application in Forge, we'll navigate to the Deployment entry.
We'll replace the Deployment Script code with the following code:
cd /home/forge/chat.nexlab.cloud
git pull origin $FORGE_SITE_BRANCH

npm install
npm run build
WARNING
Note that you should replace the /home/forge/{domain} with your own domain.
This change ensures that when hitting the deploy button, dependencies are installed and the project is built.
Now we'll set up the environment variables for our application, in the Environment entry, there's an .env file you can modify with the variables you'd like your app to have available. In my case, since I am setting up a fork of chatbot-ui. I need to set three environment variables:
NEXT_PUBLIC_SUPABASE_ANON_KEY={{ value }}
NEXT_PUBLIC_SUPABASE_URL={{ value }}
SUPABASE_SERVICE_ROLE_KEY={{ value }}
Remember to replace the values with your environment variables and values. Then, we click Save.
WARNING
Depending on your application requirements, you may need to ssh into your server to install the correct NodeJs version (or other dependencies). I recommend using NVM for managing NodeJs versions.
To find out if your server has all the dependencies required to run your NextJs application, navigate to the Deployments entry and click Deploy Now.
Keep an eye on the Live Deployment Output to check if everything is doing alright.
Setup daemon
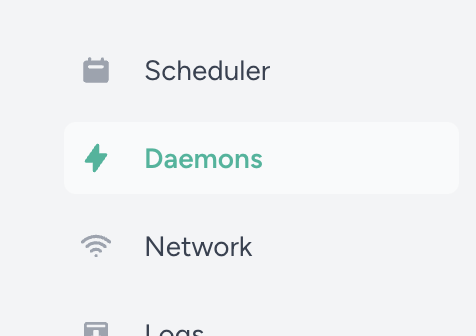
In the server root, in the Daemons entry, let's create a new daemon that will run the application.
- In
Commandlet's set:npm run start. - In
Directory, set the app's directory, in my case/home/forge/chat.nexlab.cloud.
The rest of the settings can be left as is. Click on Create. Once created, it should show in the Active Daemons list with the Active status.
Set up the domain
Since we are using, in this case, chat.nexlab.cloud as the domain for the application, we need to create an A record in our domain manager with both chat pointing to the server IP address. If you are using a top level domain, like example.com. You must create two A records, one for @ and one for www in order to Let's Encrypt to work properly.
WARNING
This step is key to be able to use the application, since Nginx uses the incoming domain as a reference to route the content to the right application. Navigating to the IP won't work.
If the domain is properly set up, you should be able to navigate to it (with HTTP, not HTTPS) and see your application up and running.
Setting up Let's Encrypt
Once, the domain is active and the site is visible, go to the site's settings and into the SSL entry. There. select Let's Encrypt and click Obtain Certificate.
It should take a few minutes for the certificate to be issued.
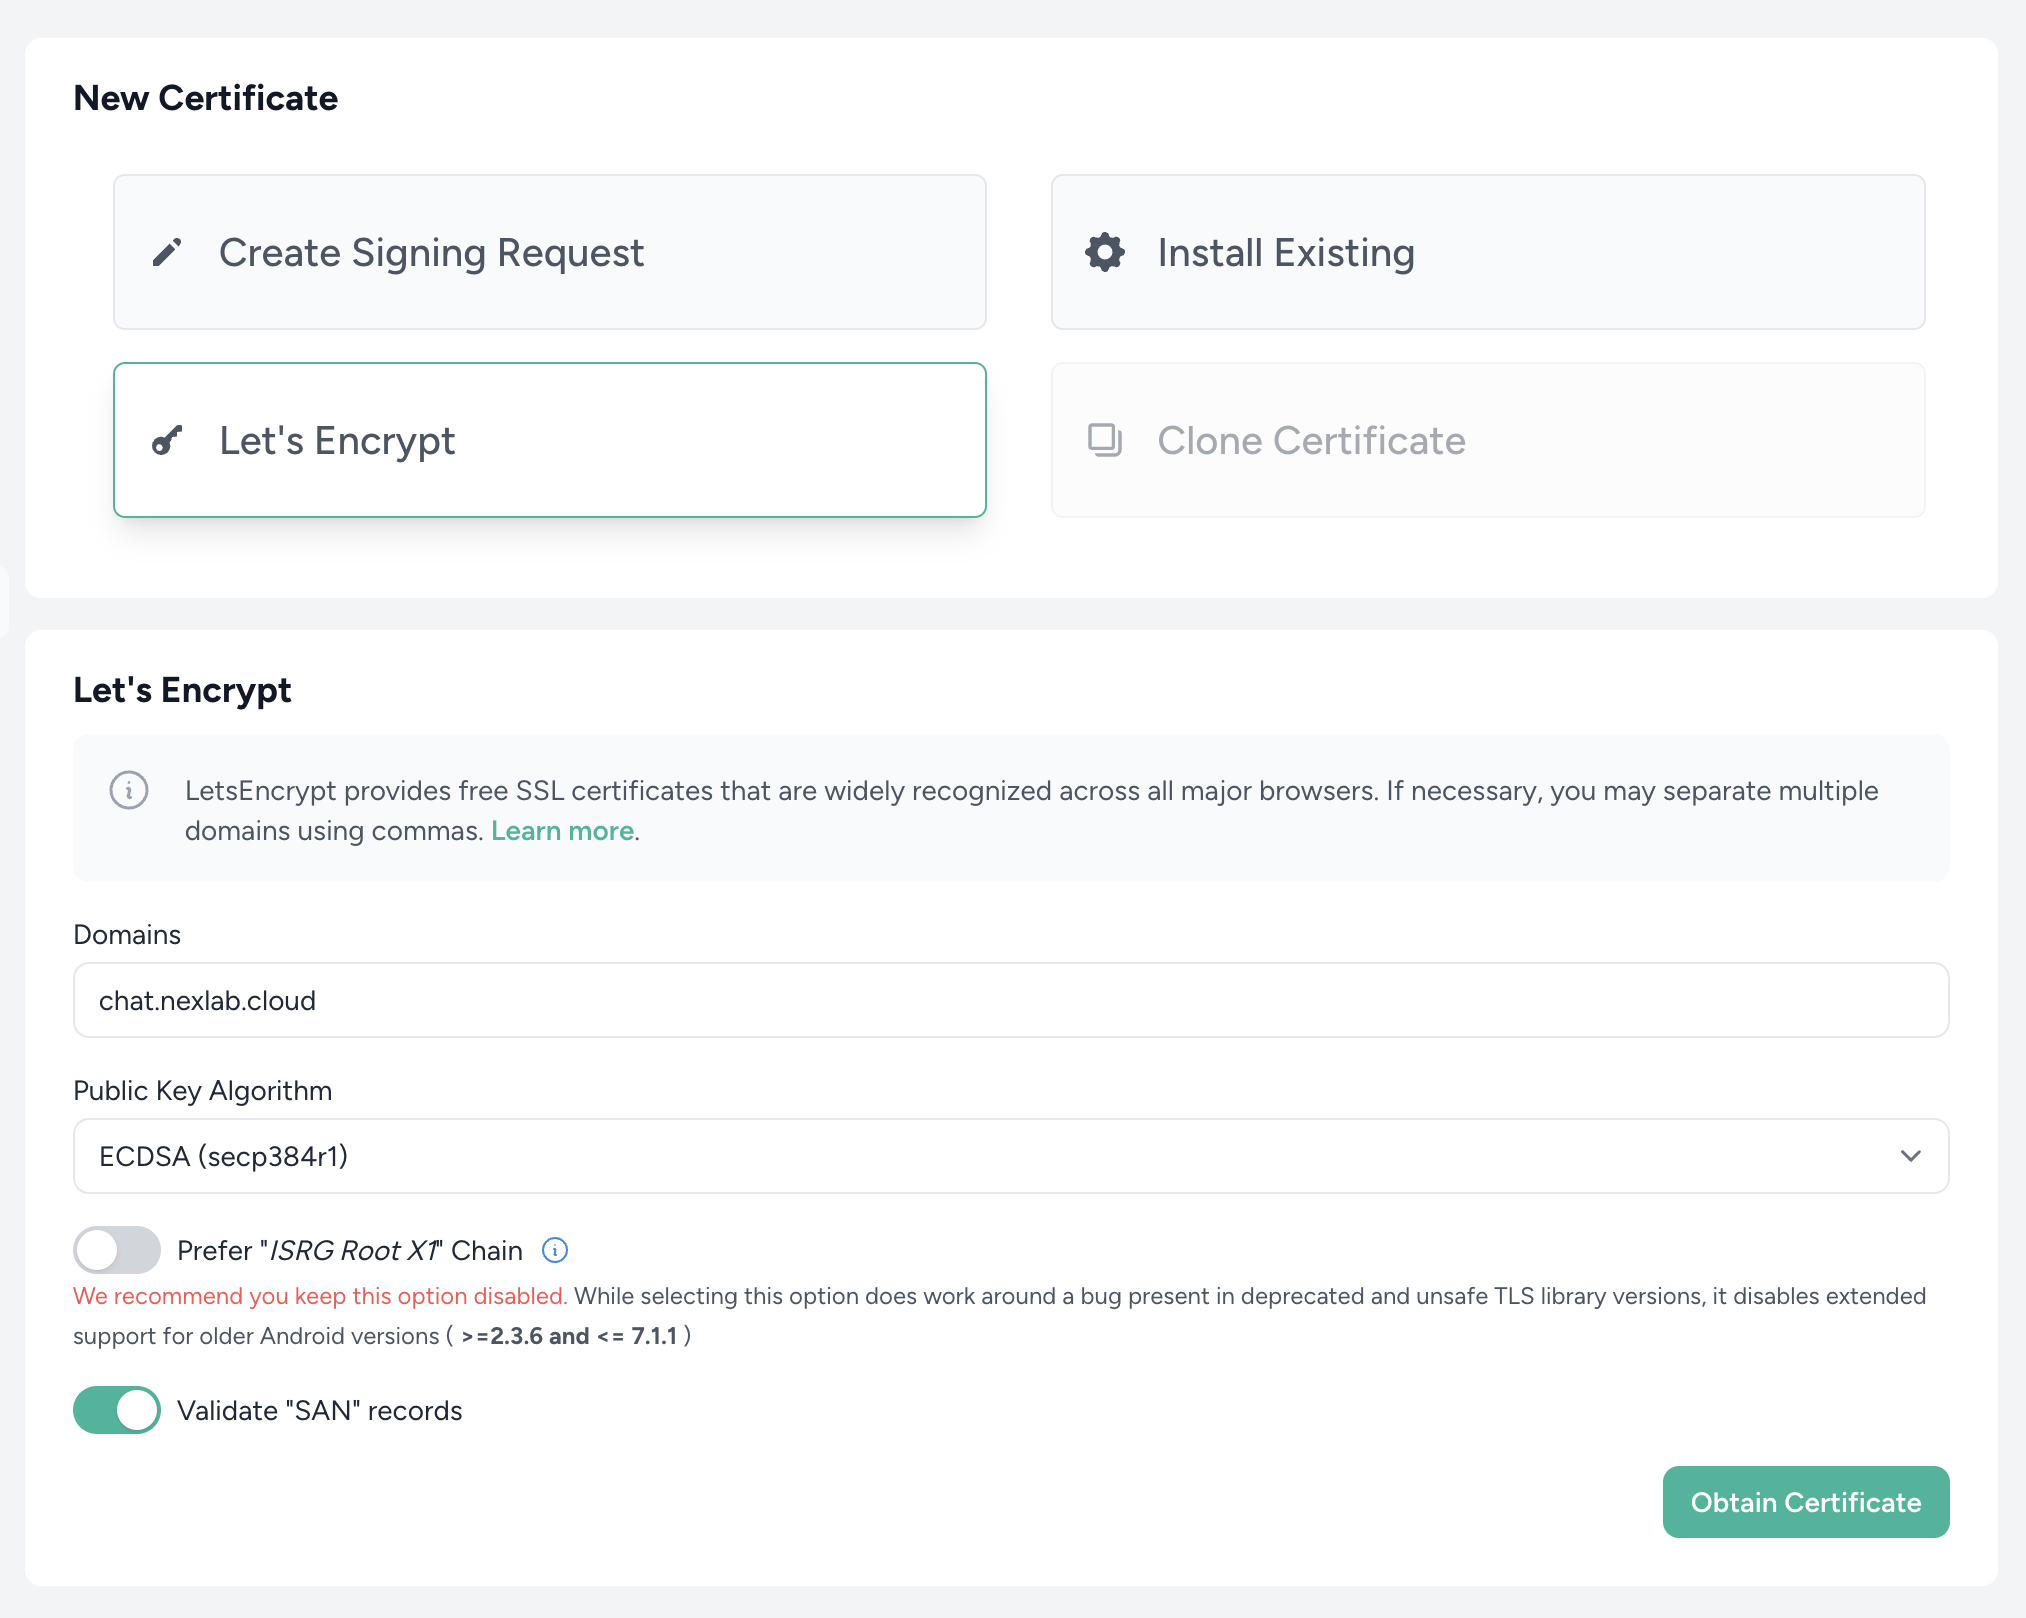
Once installed, it should show under the Current Certificates list with a status of Active .
Now you should be able to access your domain using HTTPS.
TIP
There are different ways to debug possible issues in your app.
- Keep an eye on the deployment script to ensure everything is installed correctly.
- Ensure the port in the
nginxtemplate matches the port that your application runs on. - Keep an eye on the
daemonlog to ensure the app is running successfully. - Remember to set up the domain in your domain manager so that you can access the app.
WARNING
Since the daemon is configured at the server level and not at the application level, you must manually restart the daemon after deploying with the Deploy Now button, to ensure the app runs on the latest build.